From doll to Arpillera: A 10 stage process
In this series of 10 easy to follow images, Rosa Borras from Mexico, brings us through the process of making an arpillera doll and shaping her surroundings. The final image depicts her doll in context within an arpillera. Normally the arpillera is created first and then the characters populate the piece. In this instance, Rosa begins with the doll. To clarify the process she shares her reflections on her choice of arpillera - 2016 Starvation in Zimbabwe –and explains her selection of materials.
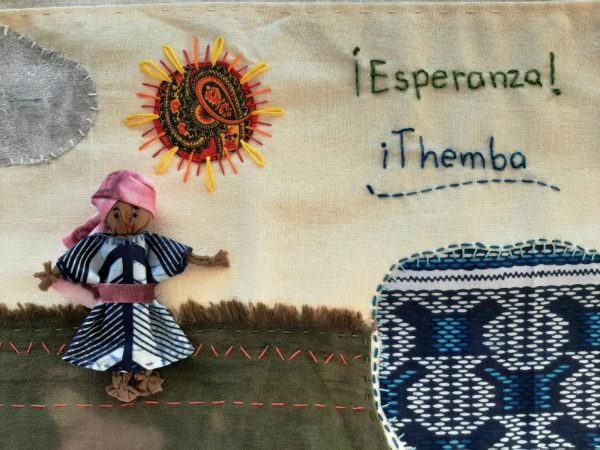
“For some reason that I do not fully understand, I feel a deep connection to Africa. It matters to me what happens there, and this is my third piece about the African continent. I am also fascinated by their cultural diversity and rich aesthetics. In several ways, Mexico shares many of the problems that African nations suffer.
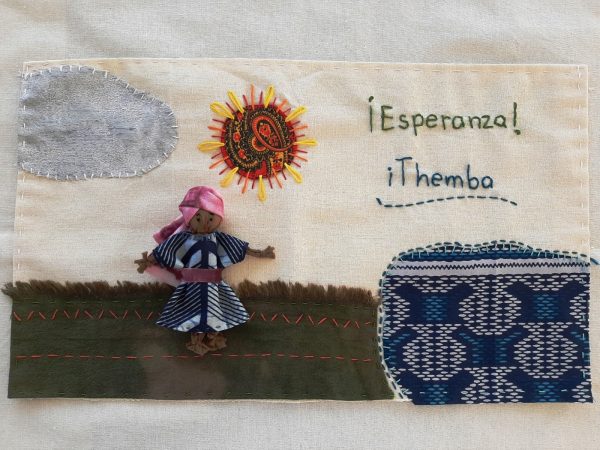
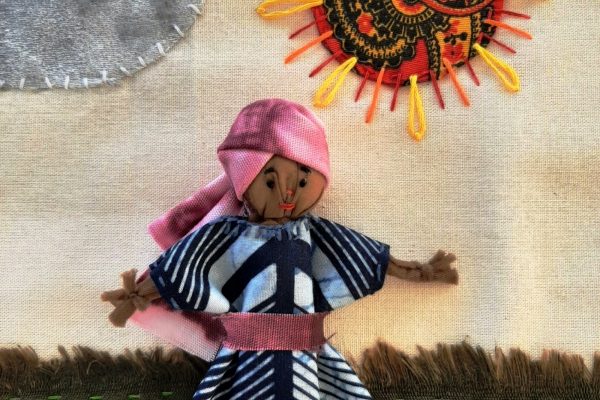
In Zimbabwe, the drought in 2015/2016 and then the floods continue to affect the population. My arpillera reflects the harsh reality of the drought and starvation, but also speaks of hope ('iThemba') which is encouraging and is what I want to highlight in my modest representation.
I made the dress and lake with African cloth that I bought long ago.The head scarf and the ground on which the arpillera doll walks are from pieces of cloth I dyed. I used a little piece of Mexican paliacate (cotton fabric) to make the sun. The cloud is made from one of the silks you [Roberta] gave me as a gift. It is embroidered with several threads including cotton (chiapanecos). All of these carry a strong symbolic value for me”.
Perhaps speaking through her doll, Rosa urges us to: “keep ourselves informed of their situation [in Zimbabwe] and be in solidarity [with them]”.
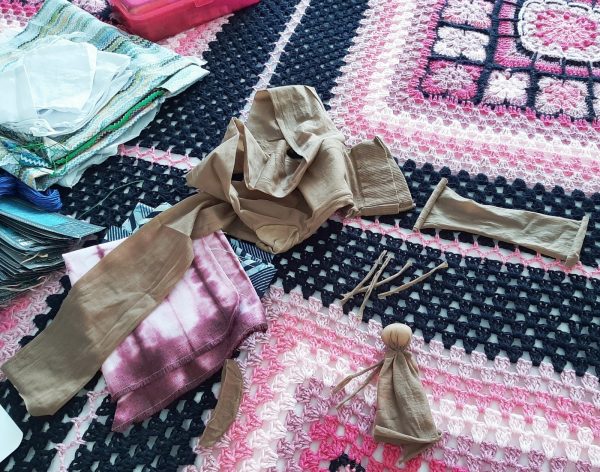
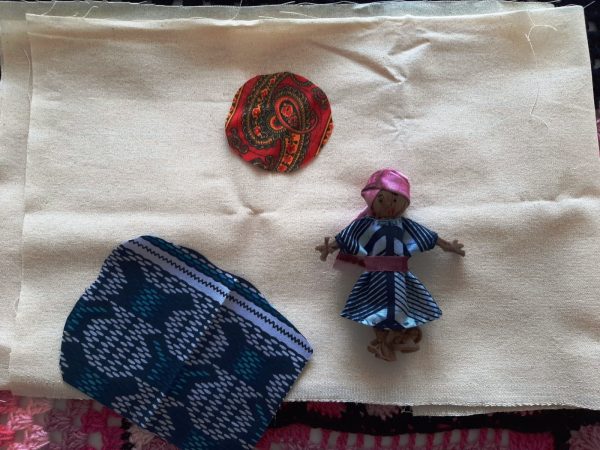
Step 1 - Collect Materials

Step 2 - Make arpillera doll head
See full instructions on how to make an arpillera doll by clicking the button below.


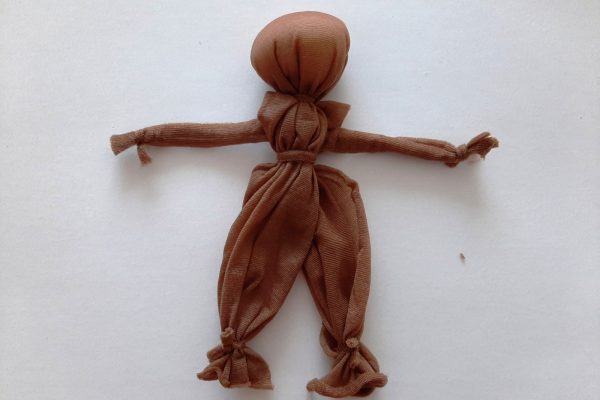
Step 3 - Make arpillera doll body
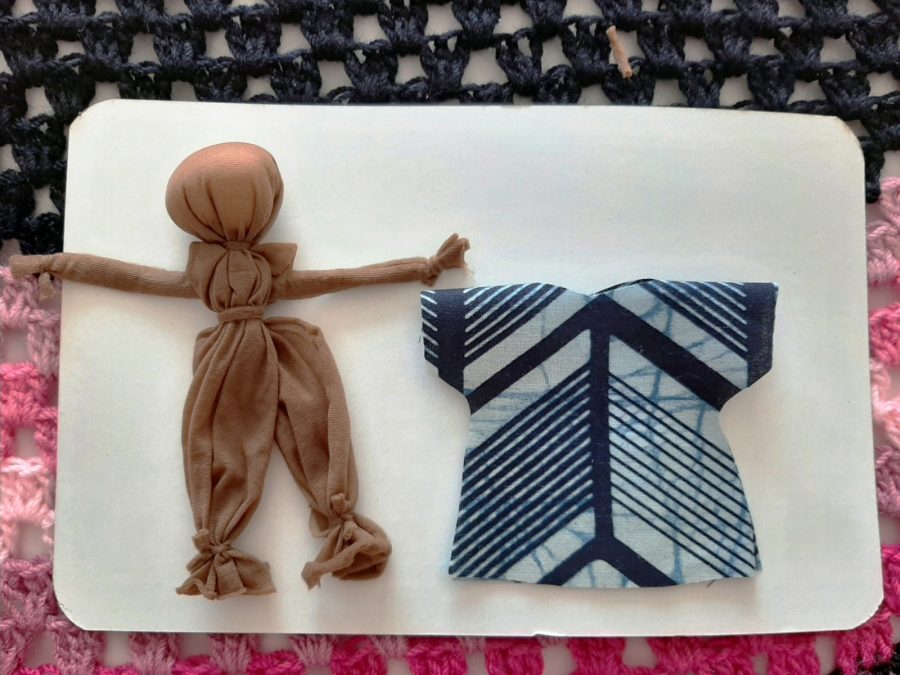
Step 4 - Make your arpillera doll's clothes

Step 5 - Dress arpillera doll (front)

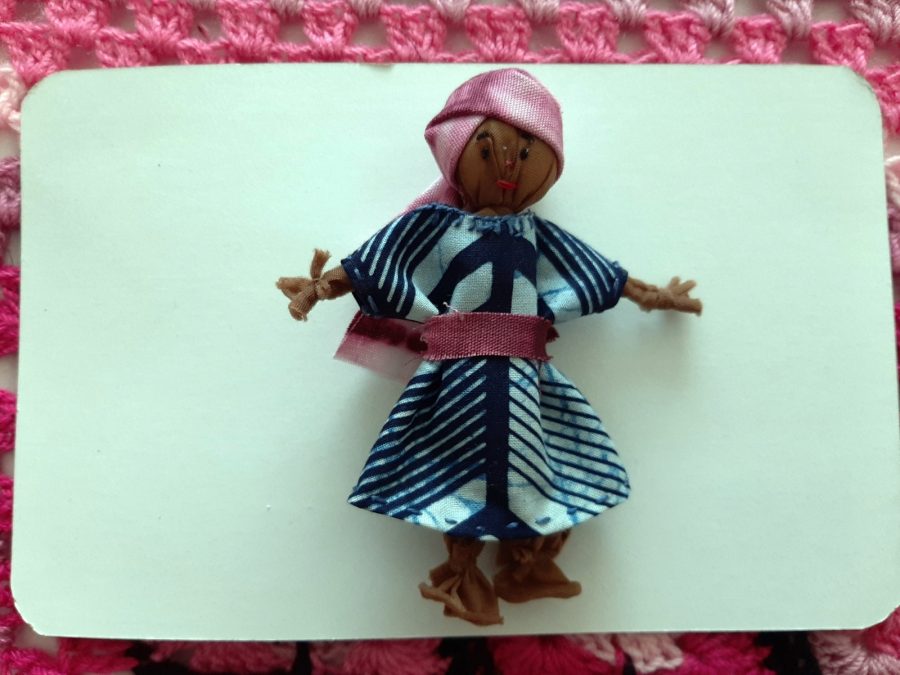
Step 6 - Dress arpillera doll (back)


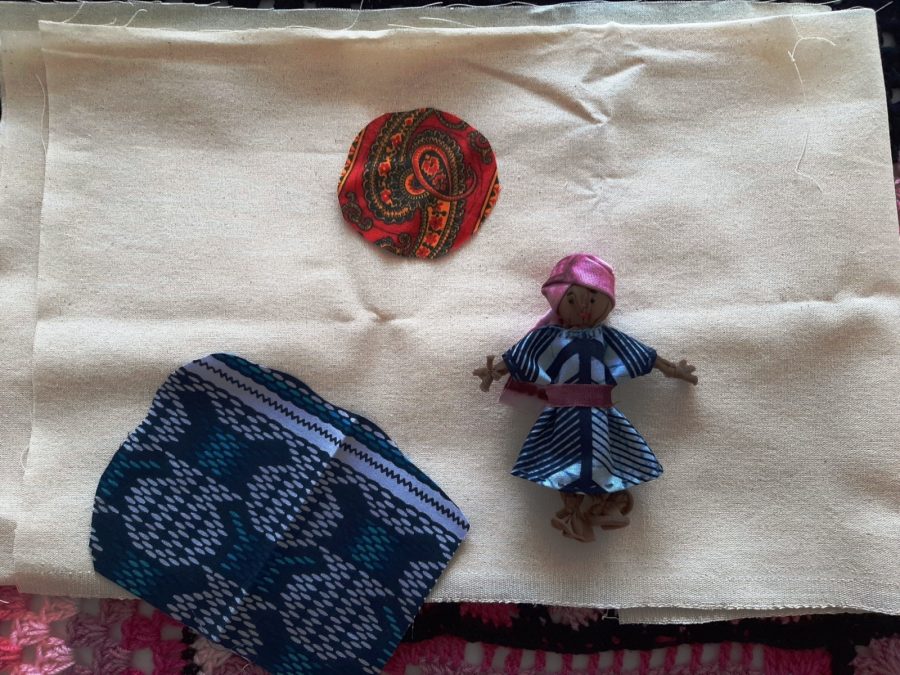
Step 7 - Plan your arpillera
Plan your arpillera by cutting and placing your materials on your arpillera to create the picture you want.
Step 8 - Stitch your arpillera together

Step 9 - Add details to the arpillera with stitching
Step 10 - Final arpillera, ready to hang